Online HTML Viewer

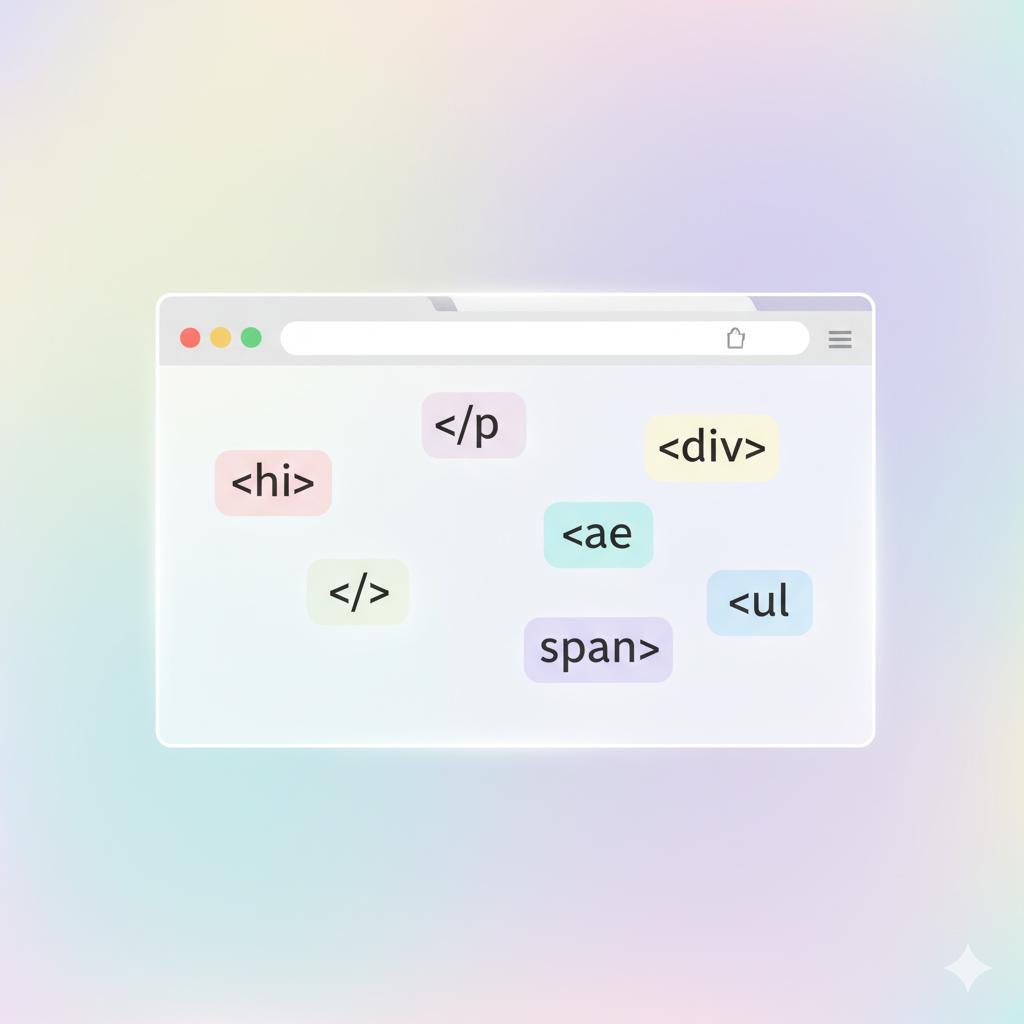
Online HTML Viewer is basically a small coding space that runs inside your browser. You can type HTML, CSS, or JavaScript into it and the preview appears right away. No setup, no downloads, nothing weird to configure. You just open the page and start playing with code.

You don't have to refresh anything or wait for it to build. You just type and boom, it's already there. It's kind of nice because you stop thinking about the process and just keep trying stuff.

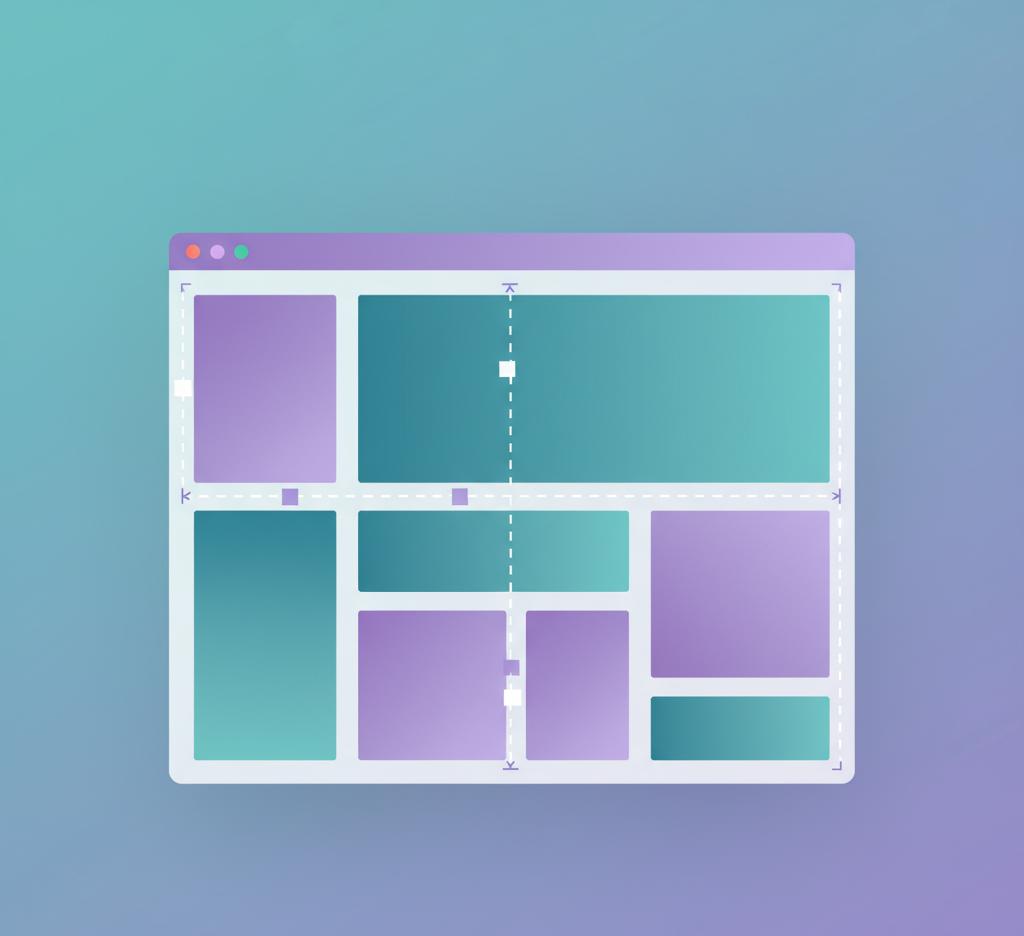
The page itself is split in half. Your code stays on the left and whatever you're making shows up on the right. After a bit you forget about the split and just fiddle with whatever you're building, like if you're testing tiny ideas or trying to fix some weird HTML mistake that won't behave.

There's no installation at all. Developers are used to setting up editors, extensions, compilers, and all that before they can even write a line of code. Here, you skip all of that. It feels like having a tiny dev environment ready to go inside your browser.

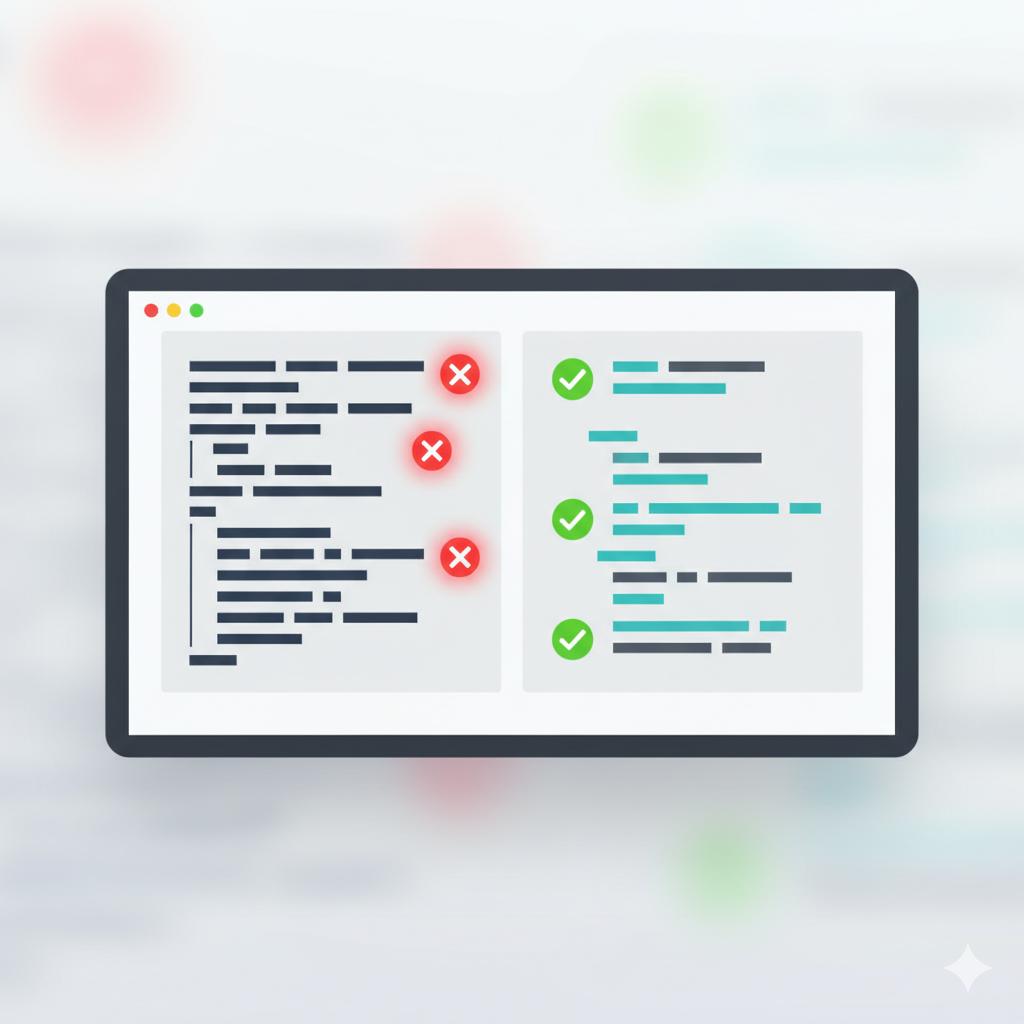
The editor runs on CodeMirror under the hood, so it feels decent to type in. It highlights stuff, fills in tags for you, and generally stops you from making dumb mistakes. It's also dark-themed by default. My eyes prefer that, especially late at night or when I end up staring at code longer than planned.

That's really the vibe: simple, quick, and good for experimenting. You can test new ideas, fix a bug that's been bothering you, or just learn how markup behaves without setting up a full workspace first.

Why It Exists

When you're learning HTML or just trying out a tiny idea, you don't always need a full-blown setup like Visual Studio Code. Opening an IDE, creating a new project, making folders, turning on a live server, and juggling files feels like way too much when all you want to do is see how a flexbox behaves or why a CSS animation looks odd. For quick experiments like that, the whole setup process becomes annoying pretty fast.

This tool exists to get rid of that hassle. It gives you a place to test things instantly with zero setup. You can copy some HTML from a tutorial, mess with the CSS for a bit, and see the results without jumping between windows or waiting for anything to reload. Everything happens inside one tab. It turns a "five minutes of prep" task into basically a 30-second check, which makes learning and experimenting feel smoother and less intimidating.

Who It Helps

A bunch of different people end up finding this tool useful, and not always for the same reasons. If you're just starting out with HTML or CSS, for example, it's nice because you don't have to mess with folders or servers or figure out what the word "environment" even means. You just type and see the result, which feels way less intimidating when you're still wrapping your head around tags and selectors.

Beginners & Learners

If you're just starting out with HTML or CSS, for example, it's nice because you don't have to mess with folders or servers or figure out what the word "environment" even means. You just type and see the result, which feels way less intimidating when you're still wrapping your head around tags and selectors.

Teachers & Classrooms

In classrooms, it actually saves time. Teachers can type a line of code and the students can watch it change right there, instead of jumping between windows or asking everyone to install the same editor. It keeps the lesson moving and fewer students get lost trying to sync their setup.

Professional Developers

Then there are the folks who already code for a living. They're usually not "learning," they're just trying to fix some annoying layout thing or test a tiny script without opening a big project. When you're in that headspace, the last thing you want is to wait for a whole dev environment to spin up just so you can poke at a flexbox bug for thirty seconds.

Casual Users

And you've got the casual crowd too. People who don't think of themselves as developers but sometimes need to make a webpage for a personal thing or tweak the HTML in an email signature or whatever. They don't really need VS Code or WebStorm for that stuff. They just want something simple that doesn't make them learn ten other tools first.

What Problem It Solves

The main annoyance this tool tries to deal with is how many tiny steps it usually takes just to mess around with a bit of HTML. In a normal setup you bounce through this whole loop: make a new file, type some markup, save it somewhere, open it in a browser tab, tweak it, save again, refresh, and repeat that cycle until whatever you're testing finally behaves. By the time you're done, it's easy to forget what you were even trying to check in the first place. It's a lot of process piled onto something that should feel quick.

With this setup, that loop shrinks down to one motion. You type and the result shows up right away. No file saving, no refresh button, no waiting around. The feedback feels instant, so experimenting becomes a lot more natural.

There's another angle too, which is access. You don't always have your normal development setup with you. Maybe you're sitting at a school computer, borrowing a friend's laptop, or stuck using a tablet that refuses to install anything. In those situations you just need something that runs in a browser and doesn't ask for permission or extra tools. This covers that scenario without making you jump through hoops.

Beginners run into a different kind of issue. Before they've even typed their first tag, they get told to install Git, npm, extensions, and a bunch of tools they don't recognize yet. It's no surprise people get stuck at step zero and think they messed up somehow. This removes that whole tool chain so they can actually learn the language first. Once they're comfortable, then they can worry about all the developer tooling everyone loves to argue about later.

Detailed Feature Explanation

Live Preview System

The live preview is basically what makes this tool feel smooth to use. While you're typing in the editor, the page you're building updates on the right side almost immediately. There's a tiny delay built in so it doesn't try to refresh on every keystroke and slow your browser down, but it still feels quick enough that you don't think about it. You just type and watch things change.

The preview runs inside its own iframe, which is sort of like having a little browser window sitting inside the page. That keeps your code separate from the tool itself, so if you write some broken JavaScript or some CSS that would normally mess with the layout, it won't crash anything important. Your code lives in its own sandbox.

When you start adding more content and the page gets taller, you just scroll through the preview like you would in a normal browser. Nothing weird there. The nice part is that the scrolling is separated from the rest of the interface, so you don't end up dragging the whole page just because you wanted to check the bottom of your layout. I've done that in other editors and it gets annoying fast. If you ever feel cramped or just want to see your page with no distractions, there's a button that opens your work in a fresh tab. People usually use that for responsive checks or when the layout feels squished next to the editor.

Code Editing Functionality

The editor is built on top of CodeMirror, which is a pretty common library for browser-based coding tools. Once you start typing, the editor starts coloring different pieces of your code so they're easier to read. Tags are one color, attributes another, strings another, and so on. It's the same general idea most code editors use and it helps you spot mistakes faster. The theme here is Monokai, which is that darker look lots of developers already use. Line numbers sit along the left side so you can actually find the part you were talking about without guessing.

Auto-complete is in there too. If you start typing something like <di the editor takes a guess that you probably mean <div> and offers it as a suggestion. Tab or Enter drops it in and you just keep going. It also handles the annoying closing parts for you. Typing <div> automatically puts </div> after it and leaves the cursor in the middle so you don't forget to close it. Same goes for brackets, parentheses, and quotes. It cuts down on those small typos that would normally eat a few minutes while you hunt for where you forgot something.

If you throw a <style> tag into your HTML and write CSS inside it, the editor notices and switches to CSS suggestions. You'll start getting property hints like margin, display, padding, and so on as you type, which keeps you from having to remember every property name off the top of your head.

Practical Use Cases

A surprising range of people end up using this thing, even folks who don't think of themselves as "developers." Take students for example. They'll often pull it up to follow along with a tutorial or some exercise from a course. Instead of getting bogged down in file systems and saving things in the right folder, they just type stuff in and watch what happens. It lets them think about what the tags and CSS rules are actually doing instead of spending half the lesson figuring out where their browser saved the file.

Students Learning to Code

They'll often pull it up to follow along with a tutorial or some exercise from a course. Instead of getting bogged down in file systems and saving things in the right folder, they just type stuff in and watch what happens. It lets them think about what the tags and CSS rules are actually doing instead of spending half the lesson figuring out where their browser saved the file.

Teachers for Demonstrations

Teachers use it during coding demonstrations. It's simpler for everyone when the code and the output sit next to each other instead of flipping windows. Students follow along better because they're watching things update as the teacher types, not imagining what the browser would have shown.

Experienced Developers

More experienced developers usually show up for quick answers rather than lessons. They'll poke at flexbox layouts, or test how a particular HTML5 element behaves, or debug some CSS weirdness without having to spin up a full project just for one tiny experiment.

Hobby Coders

Hobby coders end up using it too, usually when they're working on a site for a blog, a club, or some small business. They don't need to learn half a dozen tools just to get something simple on a page.

Support and QA People

Support and QA people get a pretty different use out of it. If somebody reports that some chunk of HTML looks wrong on their end, you can just paste that same chunk in here and see what it does without setting up a full test environment. It's quick, and it avoids the whole "reproduce the bug locally" headache that usually eats time.

Content Creators and Bloggers

And then you've got content creators and bloggers who mostly deal with CMS editors. Every now and then they need to drop in custom HTML — maybe a widget, maybe some styled section — and those things can easily break layouts if you guess wrong. Testing it here first keeps them from fighting their CMS preview mode all afternoon.

Tutorials

How to Write Code in the Editor

When you first open the tool, you'll see a split screen. The code editor sits on the left with a dark theme and colored text, and the preview area sits on the right waiting to show whatever you build.

Click inside the editor to start writing. You'll see the cursor blinking, ready for input. There's already a basic HTML template in there, so you don't have to write your own boilerplate. You can drop code inside the <body> area or put CSS inside the <style> block if you're styling things.

As you type, bits of your code will change color. That's just the syntax highlighting doing its job so tags, attributes, and text don't all look the same. If you start typing something like <h1, you'll notice small suggestions pop up. You can accept one of them with Tab or Enter or just ignore the suggestions and keep typing.

When you create an opening tag like <p>, the editor automatically places the closing </p> after it and puts the cursor in the middle so you can start typing content right away. Meanwhile, keep an eye on the preview panel on the right. Whatever you write shows up there almost instantly. For example, typing <h1>Hello World</h1> will make "Hello World" appear as a big heading in the preview.

How to Import an HTML File

If you already have some HTML saved on your computer and want to continue working on it here, look for the Import option in the sidebar on the left. On a phone or tablet, you might need to tap the menu icon first to open that sidebar.

Once you hit Import, your device will show a file selection dialog. Pick the .html or .htm file you want to load and open it. The contents of that file will drop straight into the editor and replace whatever was there before. The preview updates right away, so you'll see the file rendered without having to refresh anything.

How to Export or Download the Output

If you're done coding and want a copy of your work, click the Export button in the sidebar. Your browser will immediately download an HTML file with the current date and time baked into the filename so you don't accidentally overwrite older exports. It usually lands in your Downloads folder, unless you've changed your browser settings.

You can open that file in any browser to view it, or pop it into a text editor later if you need to keep editing.

FAQ

Is this tool free?

Yep, it's free. You don't pay for anything and there aren't any hidden "premium" features waiting behind a signup form. You just open the page and use it. No accounts, no subscriptions, no surprise charges.

Does it support CSS?

It does. You can write CSS the same way you would in a normal webpage. Some people drop it into a <style> tag in the head, others use inline styles, and you can even link to an external stylesheet if it's hosted somewhere. The editor highlights properties as you type and suggests them, so you don't have to remember every CSS property name from memory.

Does it support JavaScript?

Yes, JavaScript works here too. Anything you put inside <script> tags runs in the preview panel. Things like DOM updates, event listeners, alerts, console logs, timers — all that stuff works fine. If you're calling external APIs or doing AJAX requests, those run as long as the browser allows it. All the JS stays inside the preview iframe, so whatever code you write can't interfere with the editor itself.

Does it store my data?

Nope. The tool doesn't send your code to a server or keep it in a database. Everything stays in your browser. Some browsers might cache what you were working on temporarily, but that depends on the browser. If you need to save something permanently, you can export your file and keep it on your computer.

Is it safe?

Yes, it's safe. Your code runs inside an isolated iframe, meaning it can't poke at the editor or reach into your machine. It can't access your file system or personal data either. The only outside resources the page pulls in are things like Bootstrap, Font Awesome, and CodeMirror from trusted CDNs, which is the same setup you'll see on a ton of modern sites.

As with any browser-based tool, be careful pasting in random JavaScript you found somewhere. It will execute, so it's good to know what it does before you run it.

Do I need to install anything?

No installation at all. As long as you have a modern browser and an internet connection to load the tool the first time, you're good. Once everything is loaded, it keeps working for that session even without a connection. No plugins, no extensions, no configuration headaches.

What browsers are supported?

Pretty much all modern ones: Chrome, Firefox, Safari, Edge, Opera, and Brave work fine. It also behaves well on mobile browsers for both iOS and Android, and the layout adjusts for smaller screens automatically.

Older browsers — especially things from the Internet Explorer era — won't play nicely with newer features like the CodeMirror editor, so the newer your browser is, the smoother everything feels.

Real-World Examples

Example: Creating a Button Layout

If you want to create a simple button layout with multiple styled buttons, here's how you'd do it:

<!DOCTYPE html>
<html>
<head>
<style>
.button-container {
  display: flex;
  gap: 15px;
  padding: 20px;
  justify-content: center;
}

.btn {
  padding: 12px 24px;
  border: none;
  border-radius: 5px;
  font-size: 16px;
  cursor: pointer;
  transition: all 0.3s ease;
}

.btn-primary {
  background-color: #007bff;
  color: white;
}

.btn-primary:hover {
  background-color: #0056b3;
}

.btn-success {
  background-color: #28a745;
  color: white;
}

.btn-success:hover {
  background-color: #1e7e34;
}

.btn-danger {
  background-color: #dc3545;
  color: white;
}

.btn-danger:hover {
  background-color: #a71d2a;
}
</style>
</head>
<body>
  <div class="button-container">
    <button class="btn btn-primary">Primary</button>
    <button class="btn btn-success">Success</button>
    <button class="btn btn-danger">Danger</button>
  </div>
</body>
</html>

What this does: Creates three horizontally-aligned buttons with different colors. When you hover over them, they darken slightly for a nice interactive effect.

Example: Testing CSS Grid

Let's say you're learning CSS Grid and want to test how it works:

<!DOCTYPE html>
<html>
<head>
<style>
.grid-container {
  display: grid;
  grid-template-columns: repeat(3, 1fr);
  gap: 20px;
  padding: 20px;
  background-color: #f0f0f0;
}

.grid-item {
  background-color: #4CAF50;
  color: white;
  padding: 30px;
  text-align: center;
  border-radius: 8px;
  font-size: 18px;
}
</style>
</head>
<body>
  <div class="grid-container">
    <div class="grid-item">Item 1</div>
    <div class="grid-item">Item 2</div>
    <div class="grid-item">Item 3</div>
    <div class="grid-item">Item 4</div>
    <div class="grid-item">Item 5</div>
    <div class="grid-item">Item 6</div>
  </div>
</body>
</html>

What this does: Creates a responsive grid with three columns. The items automatically wrap to the next row when there are more than three. You can change grid-template-columns: repeat(3, 1fr) to repeat(2, 1fr) or repeat(4, 1fr) to instantly see how the layout changes.

Example: Embedding JavaScript Snippets

Here's a practical example of using JavaScript to make a simple interactive counter:

<!DOCTYPE html>
<html>
<head>
<style>
.counter-container {
  text-align: center;
  padding: 50px;
  font-family: Arial, sans-serif;
}

.counter {
  font-size: 48px;
  font-weight: bold;
  color: #333;
  margin: 20px 0;
}

button {
  margin: 10px;
  padding: 10px 20px;
  font-size: 16px;
  cursor: pointer;
  border: none;
  border-radius: 5px;
  background-color: #007bff;
  color: white;
}

button:hover {
  background-color: #0056b3;
}
</style>
</head>
<body>
  <div class="counter-container">
    <h1>Simple Counter</h1>
    <div class="counter" id="counter">0</div>
    <button onclick="increment()">Increment</button>
    <button onclick="decrement()">Decrement</button>
    <button onclick="reset()">Reset</button>
  </div>

  <script>
    let count = 0;
    const counterDisplay = document.getElementById('counter');

    function increment() {
      count++;
      counterDisplay.textContent = count;
    }

    function decrement() {
      count--;
      counterDisplay.textContent = count;
    }

    function reset() {
      count = 0;
      counterDisplay.textContent = count;
    }
  </script>
</body>
</html>

What this does: Creates a counter that starts at 0. Clicking "Increment" adds 1, "Decrement" subtracts 1, and "Reset" brings it back to 0. This demonstrates how HTML (structure), CSS (styling), and JavaScript (interactivity) work together.

Latest from Our Blog